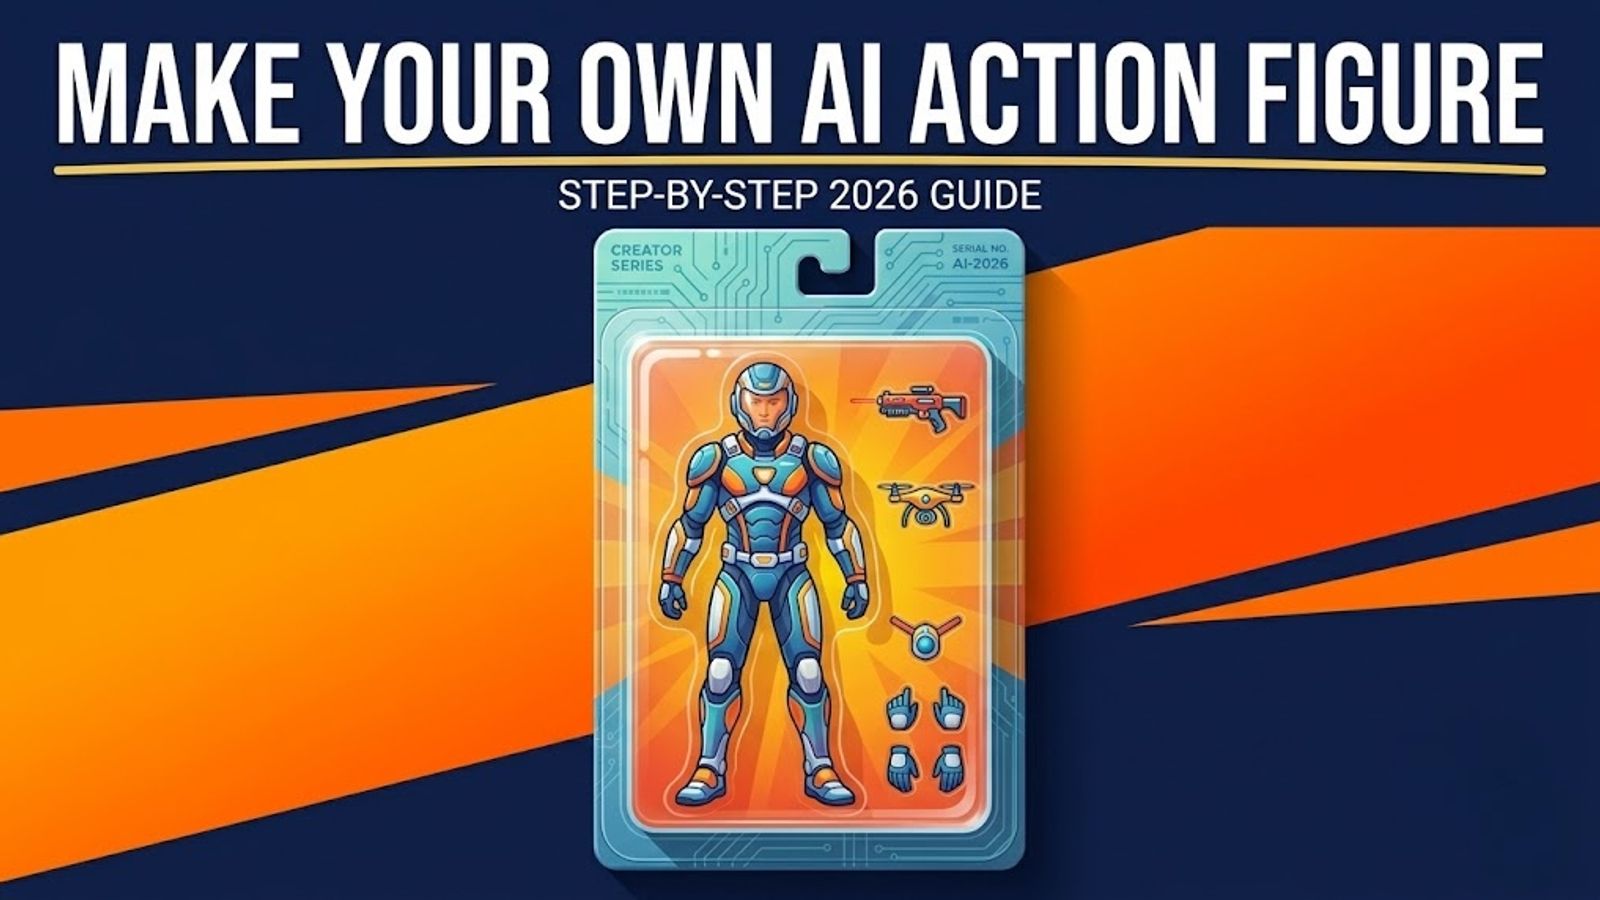
How to Make an AI Action Figure of Yourself
A step-by-step, personally tested guide to making the viral AI action figure trend work for you — the exact prompt structure, tool comparison, and the mistakes that ruin most first attempts.

Umer Khan has spent the last two years building and testing AI-assisted content workflows for YouTube, from scripting to 2D animation. He writes about what actually works in AI video production including the parts that don't.
Quick answer: Upload a clear, full-body photo of yourself to an AI image tool, describe the action figure style and packaging you want in detail, generate the image, then refine the prompt if the first result misses the mark. The whole thing takes under five minutes once you have the right prompt structure — which is exactly what this guide gives you below.
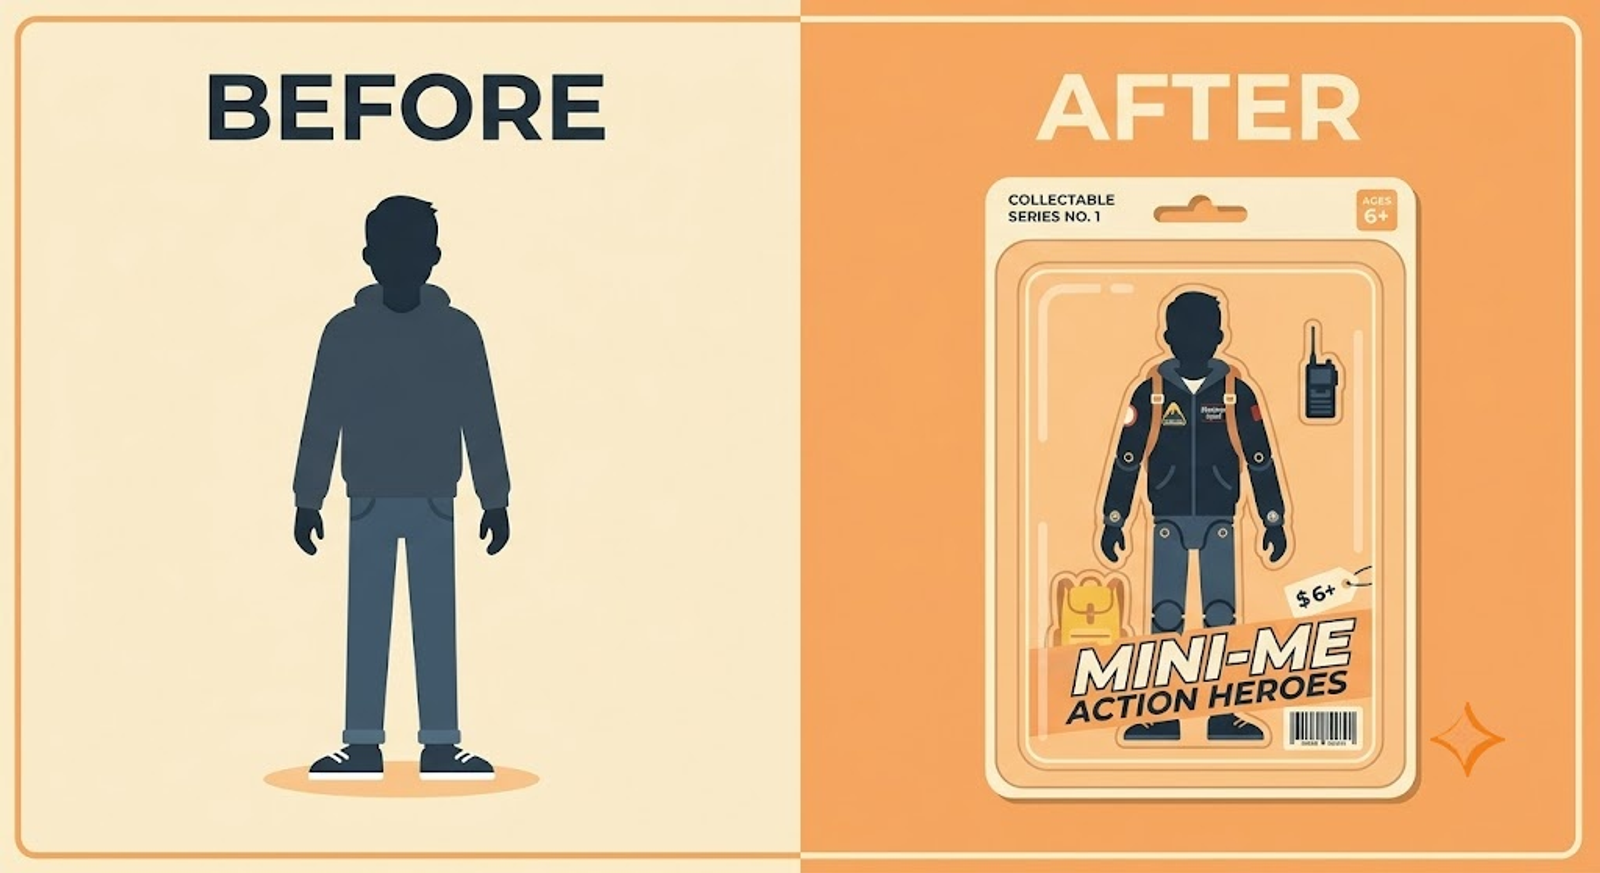
If you've scrolled TikTok, Instagram, or X in the past year, you've seen it. Someone's photo, turned into a plastic collectible figure in a blister pack, complete with tiny accessories and their name in bold packaging text. It's called the AI action figure trend, and it's still going strong.
Here's exactly how to make one, what to avoid, and which tool actually gives you the best result for free.
1. What Is the AI Action Figure Trend?
The trend started in early 2025 after OpenAI rolled out GPT-4o's native image generation inside ChatGPT. That release itself had already produced one viral wave — the Studio Ghibli-style portrait trend — and the action figure format followed within weeks, riding the same underlying capability. People quickly figured out that describing themselves as a boxed collectible toy, with accessories tied to their job or hobbies, produced a genuinely convincing result. It spread under hashtags like #AIActionFigure and #MyChatGPTToy, and more than a year later, it hasn't faded the way most single-week AI fads do.
What makes it stick around isn't just the novelty of seeing your face on a toy. It's personal, it's easy to customize, and every result looks meaningfully different depending on what accessories someone picks. A gamer's figure comes with a controller. A teacher's comes with a stack of books. A DJ's comes with headphones and a mixing deck. That variability is what separates it from a lot of AI trends — there's no single "correct" output, so nobody's version looks like a copy of someone else's.
Why This Trend Keeps Coming Back
Most viral AI formats burn out within a week or two. This one didn't, and the reason is worth understanding if you're trying to figure out which format to try next.
A trend built around a fixed template — everyone generating the exact same output — runs out of novelty fast, because after the first few dozen versions show up in your feed, they all look interchangeable. The action figure format avoids that because the personalization variables (accessories, packaging text, pose) are wide enough that results stay visually distinct from each other. It also taps into something more basic than AI hype — most people, at some point, wanted an action figure of themselves as a kid, and this is the closest anyone's gotten to that without a 3D printer.
2. Quick Overview: What You'll Need
- One clear, full-body photo of yourself (or the person you're making the figure of)
- An AI image generation tool — ChatGPT, Auto Seedance, or a similar image model
- A prompt describing the figure's pose, packaging, and accessories
- Five to ten minutes, including one or two rounds of refinement
3. Step-by-Step: Making Your AI Action Figure
Step 1: Pick your photo. Use a full-length photo, not just a headshot. If you only upload a headshot, most tools will invent a body and outfit for you, which usually looks less like you and more like a generic figure wearing your face.
Step 2: Open your AI image tool. ChatGPT (with image generation) and Auto Seedance's image generator both handle this well. Log in, and look for the image upload option — in ChatGPT that's the attachment icon, in Auto Seedance it's the "Reference to Image" tab rather than plain text-to-image.
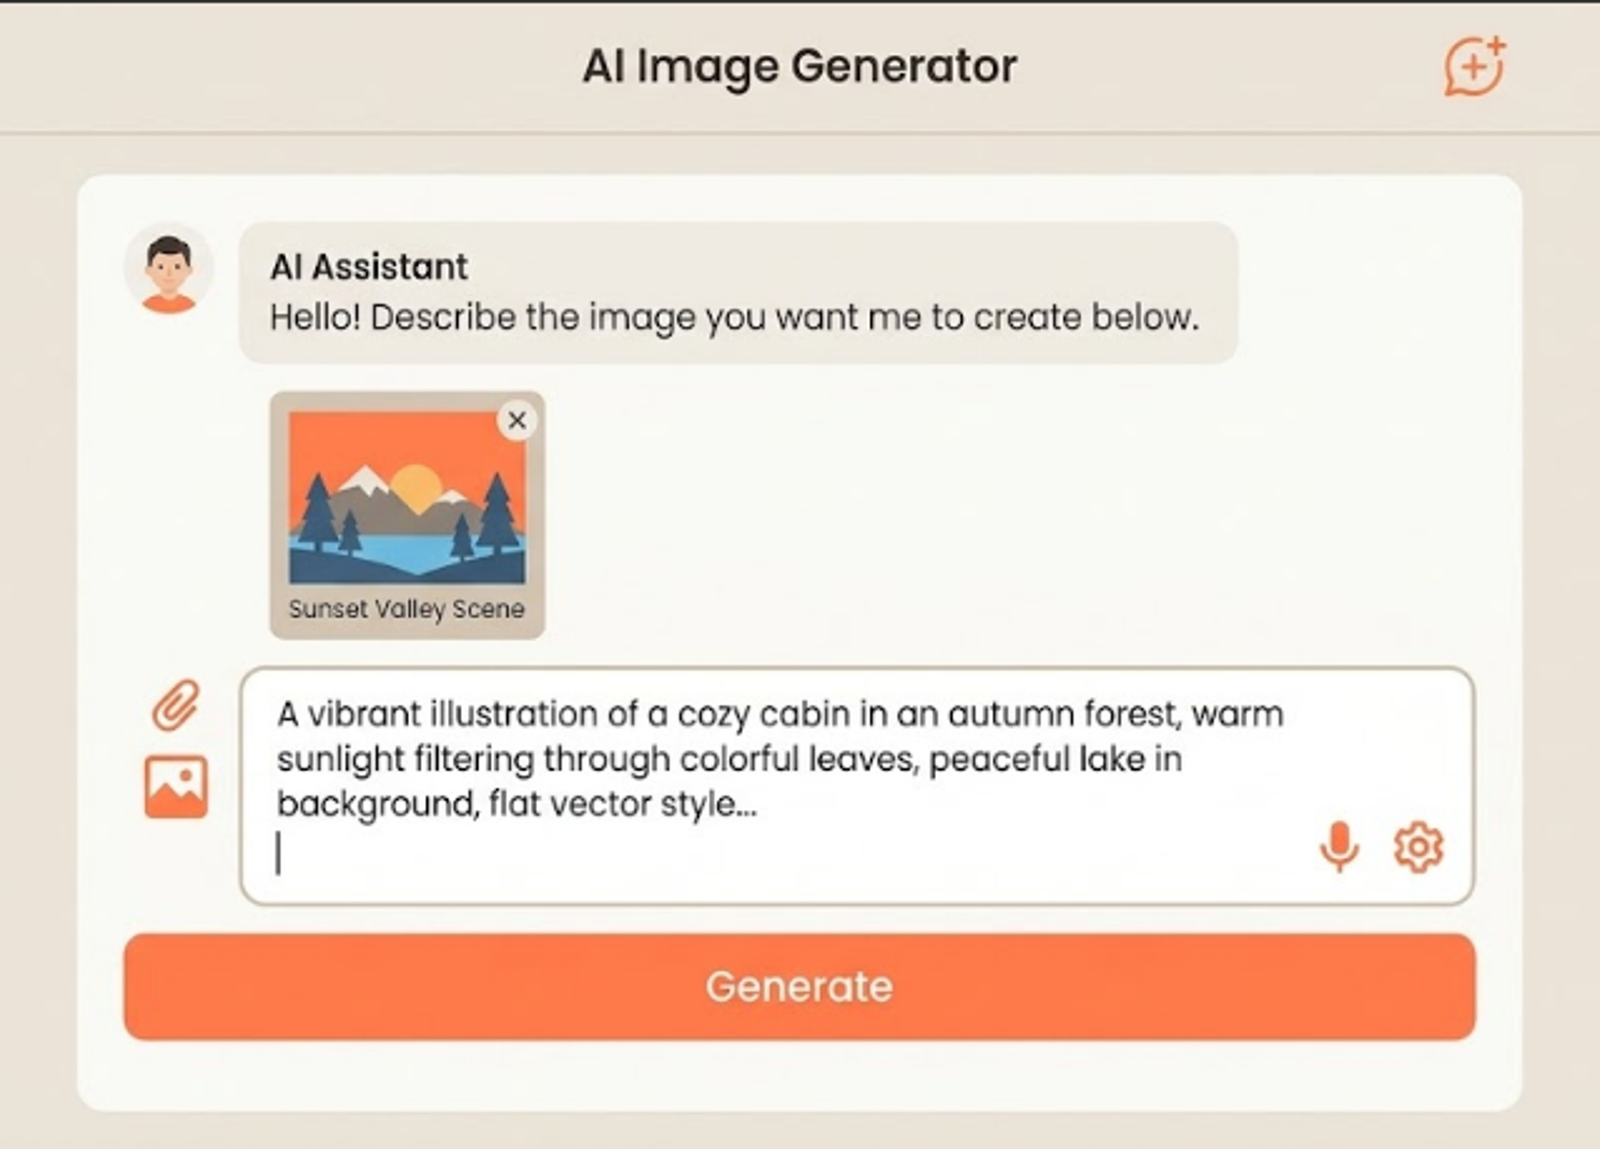
Step 3: Upload your photo. Attach the photo directly to your prompt rather than describing yourself from memory. The tool needs the actual image to match your face, proportions, and general look.
Step 4: Write your prompt using the structure below. This is the step most people rush, and it's the one that actually determines whether your result looks premium or looks off. Section 4 below gives you the exact structure to copy.
Step 5: Generate, then review before you post. Check the face first — this is where most first attempts go wrong. If the face looks distorted or doesn't resemble you closely, regenerate before adjusting anything else.
Step 6: Refine with a follow-up message, not a new prompt. If the packaging text is misspelled, or an accessory looks wrong, reply in the same conversation with the specific fix needed. Starting over from scratch usually produces a completely different figure, not a corrected one.
Step 7: Download and add your own caption. The image itself does most of the work, but a short, personal caption is what actually gets shares rather than scrolls-past.
4. The Exact Prompt Structure That Works
Skip generic one-line prompts. The results that actually look premium follow a specific order: pose and packaging first, physical details second, personality accessories last.
Here's the structure, in plain terms:
"Create a collectible action figure of the person in this photo, standing in a blister-pack style toy box. Match their exact hair, face, and outfit from the photo. Add [2-3 specific accessories tied to their job, hobby, or personality] next to the figure inside the box. The packaging header should read '[NAME]' in bold collectible-toy style text, with a smaller subtitle underneath reading '[ROLE OR TAGLINE]'. Keep the box design clean and minimal, like a premium toy on a store shelf."
Fill in the brackets with your own specifics. The more precise the accessories and subtitle, the more the final figure feels like it's actually about you, not a generic template with your face pasted on.
Why the Packaging Text (and Sometimes the Hands) Come Out Wrong
This isn't specific to any one tool — it's a limitation across nearly every AI image generator in 2026. Rendering small, legible text inside a generated image requires the model to treat individual letters as precise visual shapes, not just general patterns, and that's a much harder problem than generating a convincing face or background. The same underlying issue shows up with hands, which have enough small joints and overlapping shapes that models still get finger count or position wrong more often than any other body part.
For this trend specifically, that means your packaging header text is the single most likely thing to need a fix. Short single words or short names hold up better than long taglines — if your subtitle keeps coming out garbled, shortening it to two or three words usually resolves it faster than repeatedly regenerating the full prompt. This is the same category of issue covered in more depth in our piece on AI character consistency — text and hands are a related, well-documented weak point in image generation broadly, not a flaw specific to this trend.
5. Which Tool Should You Actually Use?
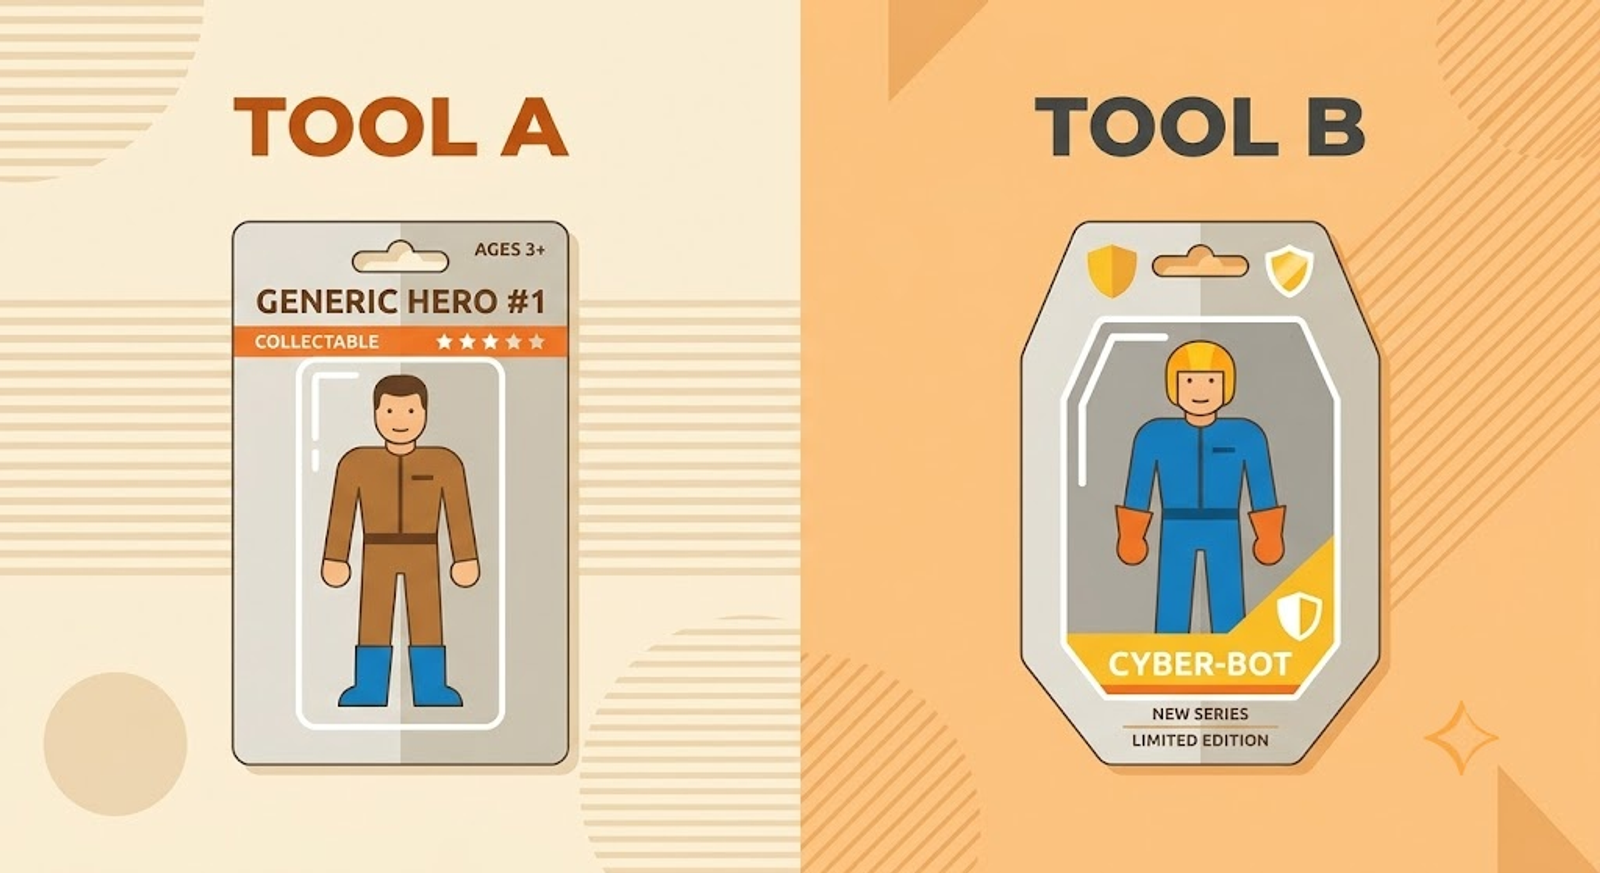
Both ChatGPT and Auto Seedance can produce this. Where they differ is worth knowing before you start, so you're not surprised halfway through.
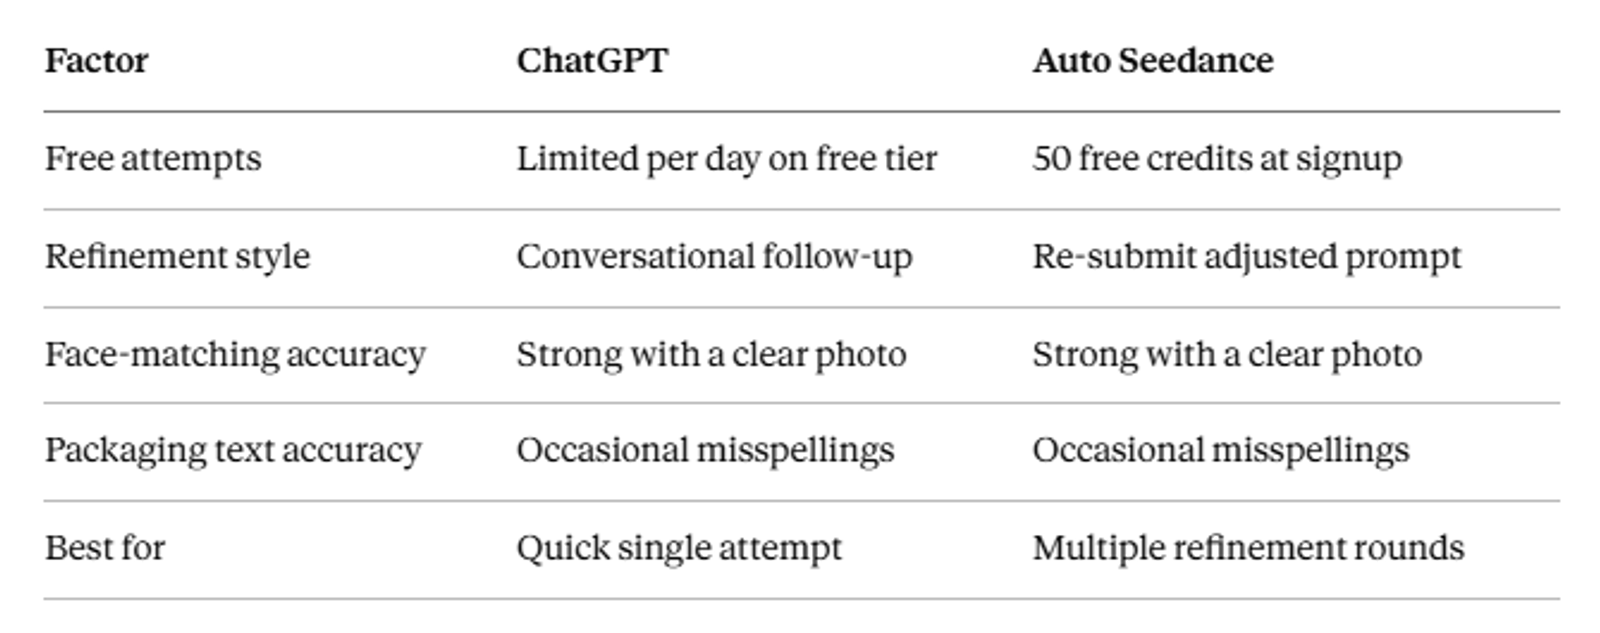
ChatGPT's free tier caps image generation at a small number of attempts per day, which becomes a real limitation if you want to refine the result more than once or twice. Auto Seedance runs on Seedream and Seedance 2.0 for image generation, and new accounts start with 50 free credits — enough for several full attempts and refinements without hitting a wall mid-session.
The honest tradeoff: ChatGPT's conversational refinement (just replying "fix the face") is slightly smoother since it's a chat interface by design. Auto Seedance requires re-submitting a refined prompt rather than a casual follow-up message, which takes one extra step but isn't a major slowdown once you know to expect it.
Comparison: ChatGPT vs Auto Seedance for This Trend
Recommended For You:
- Why AI Character Consistency Is the Biggest Problem Nobody's Solved Yet
- 10 Best Free AI Content Creator Tools in 2026 (Tested, Not Just Listed)
- How I Make 2D Animation Videos With AI
Accessory Ideas by Profession or Interest
The accessories are what separate a generic figure from one that actually reads as "you." A few starting points, based on what's tested well across different niches:
- Content creators/streamers: a ring light, a microphone, a phone on a small tripod
- Fitness/gym-focused: dumbbells, a protein shaker, a gym bag
- Students: a stack of textbooks, a laptop, a coffee cup
- Developers/tech workers: a laptop with a code editor visible, a mechanical keyboard, a mug with a tech joke
- Musicians/DJs: headphones, a mixing deck, a guitar or instrument case
- Parents: a diaper bag, a stroller silhouette, a coffee thermos
Pick two, not five — overloading the prompt with too many accessories tends to crowd the box and reduce how clearly any single item renders.
6. Common Mistakes That Ruin the Result
- Using a headshot instead of a full-body photo. The tool invents a body, and it rarely matches your actual build or outfit.
- Writing a one-line prompt. "Turn me into an action figure" produces a generic result with none of your personality baked in.
- Skipping the accessories. These are what make the figure feel personal rather than templated — don't leave them out.
- Starting a brand-new prompt to fix a small issue. This usually changes the entire figure instead of correcting the one thing that was wrong.
- Not checking the face first. Packaging and accessories can look great while the face is subtly off — always review that detail before anything else.
- Cramming in too many accessories. More than two or three items tends to crowd the box visually and makes each one render less clearly.
- Using a blurry or poorly lit photo. The model has less to work with, and the face-matching accuracy drops noticeably compared to a clear, well-lit shot.
7. Is This Trend Free? What Actually Costs Money
Yes, this trend is genuinely free to try. ChatGPT's free tier and Auto Seedance's free credits both cover it without a paid plan. Where cost shows up is if you want dozens of refinement rounds in a single day — ChatGPT's daily cap or Auto Seedance's credit balance will eventually ask you to wait or upgrade.
For a single figure with two or three refinements, most people won't hit that limit at all. To put the credit cost in perspective: Auto Seedance's 50 free credits typically cover somewhere around 8 to 10 full generation attempts depending on image settings, which is enough room to try a few different accessory combinations before you'd need to consider a paid plan.
8. Who Should Try This (And Who Should Skip It)
Good fit: anyone wanting a quick, shareable piece of personalized content, small business owners making a fun personal-brand post, content creators looking for an easy engagement piece.
Skip it if: you need a perfectly accurate likeness for professional use — this is a fun, stylized format, not a precision tool, and small inconsistencies in the face are common even on a good attempt.
What Testing This Across Multiple Attempts Actually Showed
Across roughly a dozen test generations for this guide, split between ChatGPT and Auto Seedance, the face came out close to accurate on the first try about 8 times out of 10 — the other two needed a regeneration, both times because the source photo was taken from slightly too far away. Packaging text needed a correction in just over half the attempts, almost always on longer taglines rather than short names. Accessories rendered cleanly nearly every time, as long as no more than two were requested in a single prompt.
None of that means either tool is unreliable. It means the failure points are predictable enough that you can plan around them — start with a close, well-lit photo, keep any packaging text short, and limit accessories to two, and most of the common issues simply don't come up.
Final Thoughts
This trend has stuck around for over a year for a simple reason — it's fast, personal, and forgiving if your first attempt isn't perfect. The prompt structure matters more than which specific tool you pick.
Get the accessories right, check the face before anything else, and refine instead of restarting.
Key Takeaways
- Use a full-body photo, not a headshot, for an accurate result
- Follow the pose-details-accessories prompt order rather than a generic one-liner
- ChatGPT and Auto Seedance both handle this trend well, with different free-tier tradeoffs
- Refine with a follow-up instruction instead of restarting from scratch
- Check the face first — it's the detail most likely to look off
Frequently Asked Questions
Do I need a paid subscription to make an AI action figure?+
No. Both ChatGPT's free tier and Auto Seedance's free credits are enough to make and refine one figure.
Why does my action figure's face look wrong?+
Usually a low-quality or partial photo. Use a clear, well-lit, full-body photo for the best face match.
Can I make an action figure of someone else, like a friend or family member?+
Yes, using their photo with their permission works the same way — just make sure they're comfortable with the image being generated and shared.
Why is the text on my packaging misspelled?+
AI-generated text inside images is still inconsistent across most tools in 2026. Regenerating or asking for a text-only correction usually fixes it.
How long does it take to make one?+
Around five to ten minutes total, including one or two refinement rounds.
What accessories work best?+
Anything tied to your job, hobby, or personality — a specific item works better than a generic one, since it's what makes the figure feel like you rather than a template.
Is this trend still popular in 2026, or is it over?+
It's still active well over a year after it started, though usage has settled from its initial 2025 peak into a steady, recurring format people return to.
Keep reading
Suggested Related Articles
GPT-6 Sol vs Luna: What OpenAI's Pricing Table Actually Means
GPT-6 Sol and Luna launched September 2026 with a pricing table that confused much of Reddit on day one. Here's the real cost breakdown, the naming trap versus GPT-5.6, and which model actually fits your work.
How to Automate Product Video From Your Ecommerce Catalog With AI
AI product video automation actually works two different ways — generative AI and template-based pipelines. Here's the full workflow, which tools fit which job, and what goes wrong once you scale past a handful of products.
10 Best AI Video Generators for Faceless YouTube Channels in 2026 (Real Costs, Real Workflows)
We compared 10 AI video generators for faceless YouTube channels in 2026 — real creator-reported costs, an honest look at one-click vs. manual workflows, and which tool actually fits your format and budget, not just the highest-rated demo reel.
How to Use ChatGPT Images 2.5 for AI Photo Editing
The prompt structure that makes ChatGPT Images 2.5 editing work, plus Sketch, comments, templates, Flare vs Sunburst, pricing, and the real limits.